Secure Email Support
Quick Links
Open a Secure Message
To open a secure email, first click on the appropriate email in your inbox.

Next, to view the secure email content, click on the "Click here" link in the message.

>
Return to Top
Register with Proofpoint Encryption
The first time you receive a secure message, you are prompted to register with Proofpoint Encryption.
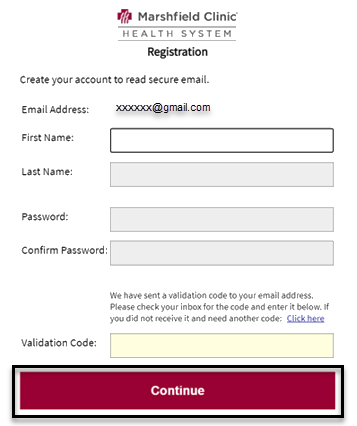
Fill in all the fields and click "Continue". The secure email will open to view.
>
Return to Top
Login to Proofpoint
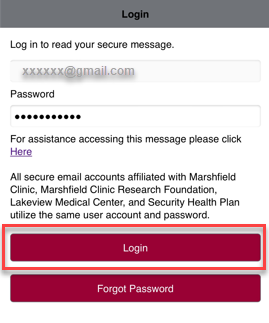
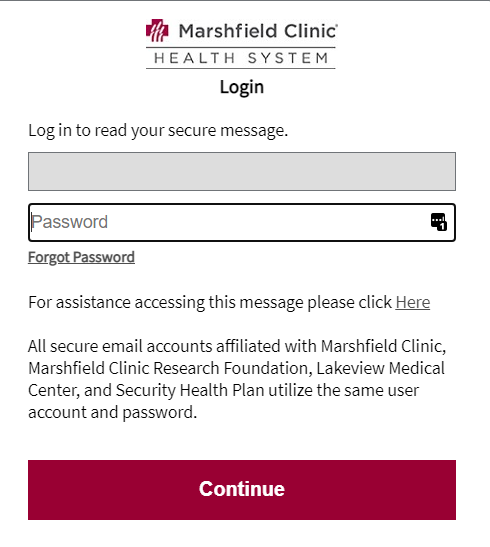
After you have been registered with an account with Proofpoint, when you click to open a secure message, you will be prompted to login to Proofpoint Encryption using your password.
Enter your password, then click "Login"
>
Return to Top
Reply, Reply All or Forward a Secure Message
The Reply, Reply All and Forward options are available in an opened message. When replying to the sender, this message is sent back securely. Secure emails can only be forwarded to email addresses in approved domains. An error message appears if a secure email is forwarded to an email address that isn't approved.
Attachments in a secured message will show in the heading area and can be opened by clicking on the attachment title.
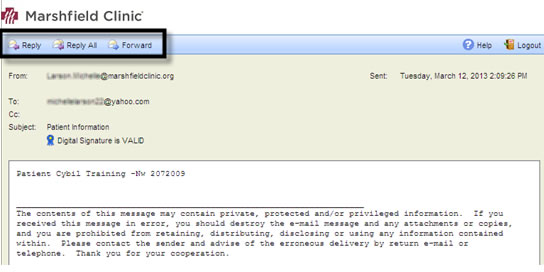
To logout of Proofpoint, click "Logout"

>
Return to Top
Forgot Password
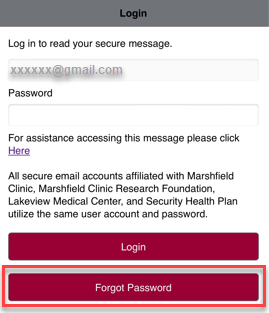
If you forgot your password, click "Forgot Password". A password reset email will be sent you.
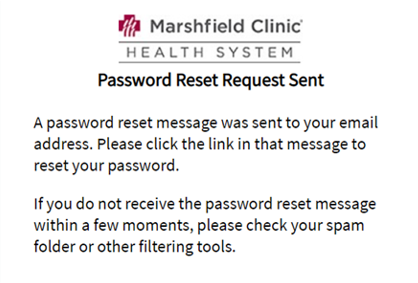
Validation message that reset password email was sent.
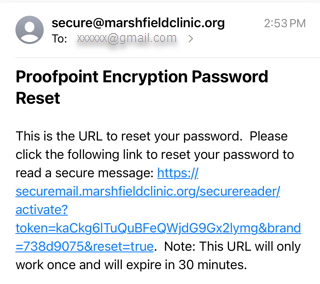
Check your email for the Reset Password email that contains your link to reset password. The URL in the email will only work once and will expire in 30 minutes. Click on the link.
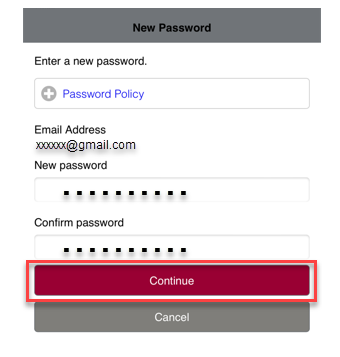
Enter your new password and confirm the new password, then click "Continue" to save the change.
- Passwords must be 7-20 characters long.
- At least one digit (0-9) is required.
- At least one symbol character is required.
- Your username may not appear in the password.
>
Return to Top
Additional Questions and Support
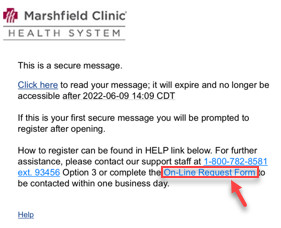
If you need further assistance, click "Online-Request Form" and complete the form
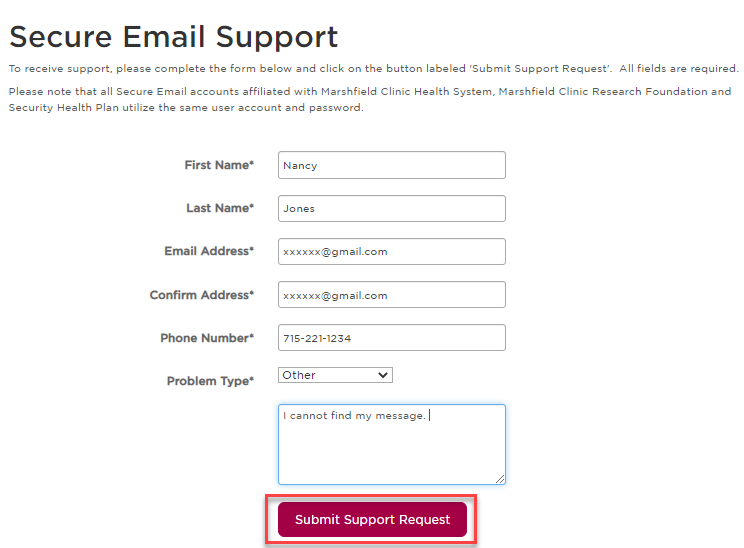
Complete all fields of the form and click "Submit Support Request"
>
Return to Top
